
Hi Folks,
 Here come your Word Options, and there are a ton of them. The good news is, setting them isn’t that difficult and many of them need to be set only once.
To access your options in Microsoft Word 2010, click File > Options. (Note: While the File menu is open your document will seem to disappear, but don’t be confused. It’s still there. To get it back, just click File again.)
Once you click Options, the following dialogue will appear. All dialogue boxes have an OK and Cancel button in the bottom right corner, but to save room I trimmed it off. The first screenshot contains your General Options:
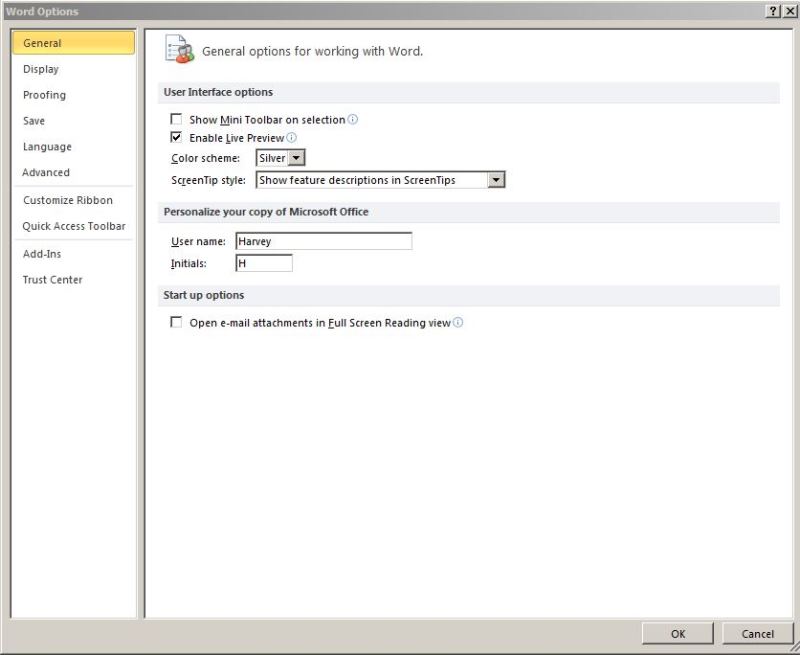 Figure 11
Look over each set of options carefully. For example, in this one you’ll note that I’ve unchecked the block that says Show Mini Toolbar on Selection. If this were checked, when you select a word or sentence or paragraph, a mini toolbar would pop up asking whether you want to cut, copy, paste, hyperlink, etc. the selected information. You might find that useful, but it drives me nuts, so I unchecked the box.
On the left pane in Figure 10 you can see each of the categories: General, Display, Proofing, Language and Advanced. The next several screenshots will illustrate those categories. We’ve already talked about customizing the Ribbon and the Quick Access Toolbar, and you can explore the Add-Ins and Trust Center on your own. They’re of no consequence to writers that I’ve ever seen.
Here’s the Display dialogue box:
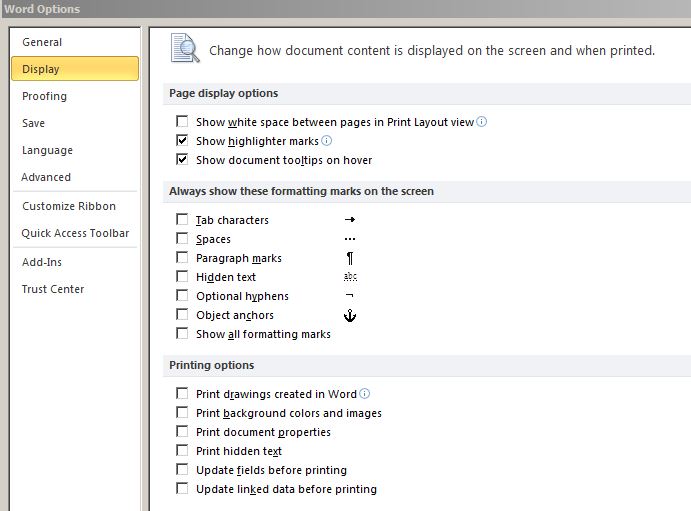 Figure 12
When you aren’t sure where your paragraph marks or tabs or extra spaces are, you can come to this dialogue box and select Show All Formatting Marks, then click OK at the bottom. When you return to your document, you’ll see all of the normally hidden formatting marks. This can be a very useful tool.
Here’s the Proofing dialogue box. Note that you can set your preferences for correcting and/or checking spelling and grammar. Be sure you check the Use Contextual Spelling option. Doing so will save you a lot of headaches later on:
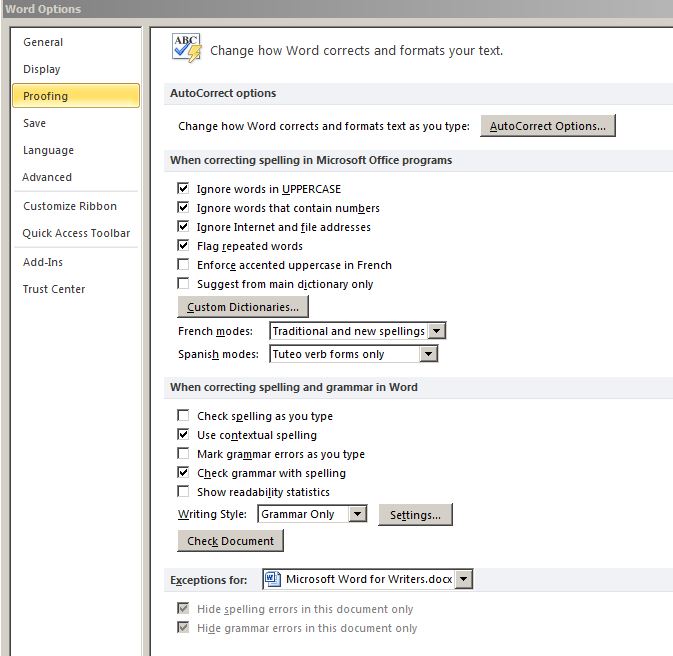 Figure 13a
You’ll notice the AutoCorrect Options button in the upper right of Figure 13a. The following five screens illustrate the various settings you can affect when you click that button. The last one, Actions, is more for business use. I’ve never used it and can’t imagine a use for it in creative writing.
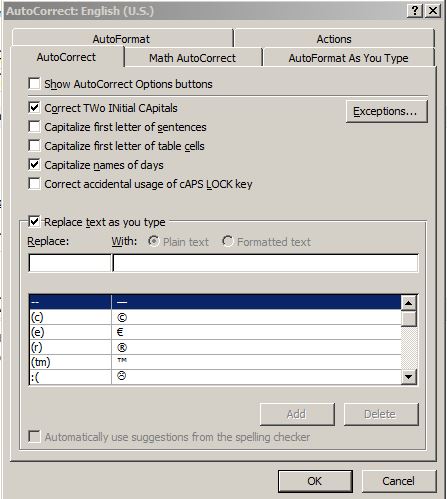 Figure 13b — AutoCorrect
 Figure 13c — Math AutoCorrect
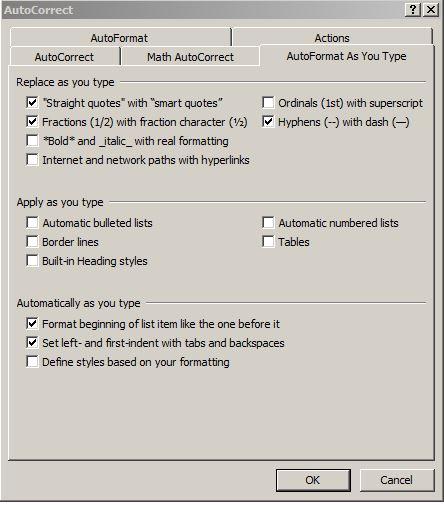 Figure 13d — AutoFormat As You Type
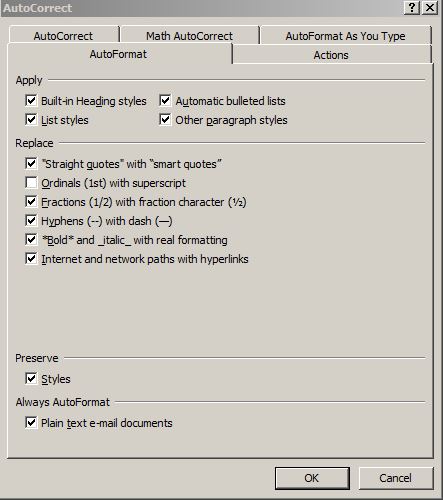 Figure 13e — AutoFormat
 Figure 13f — Actions
Here’s the Save dialogue box. Usually, you can set this one once and forget it:
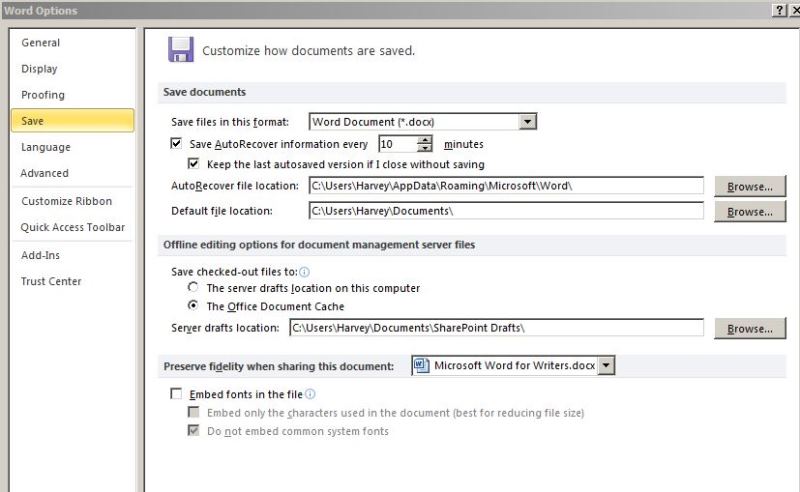 Figure 14
Here’s the Language dialogue box. Again, it’s pretty much set and forget:
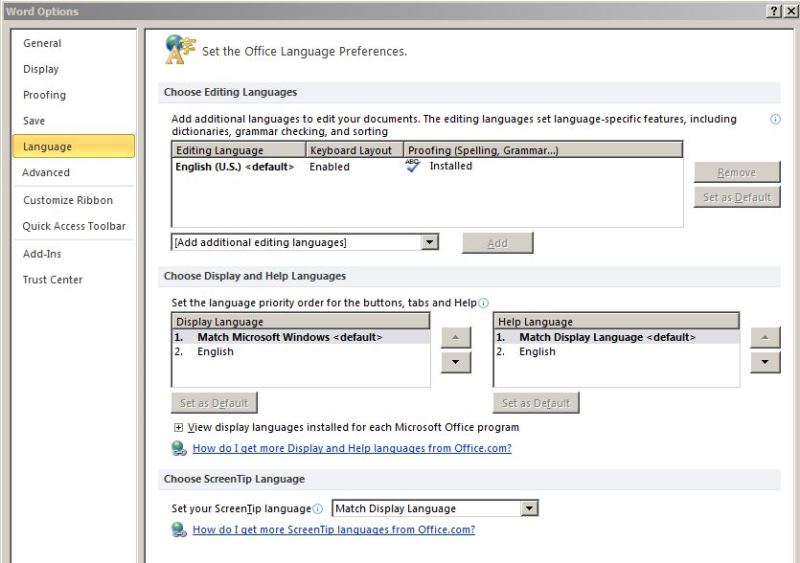 Figure 15
Below is the Advanced Options dialogue box, albeit in three pieces.
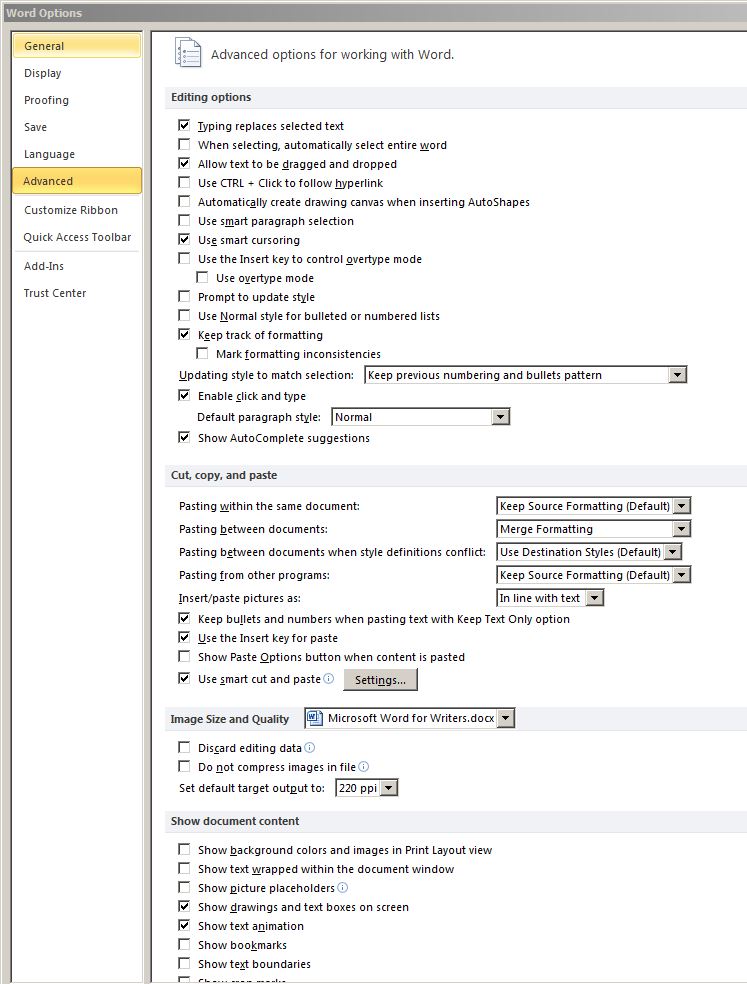 Figure 16a
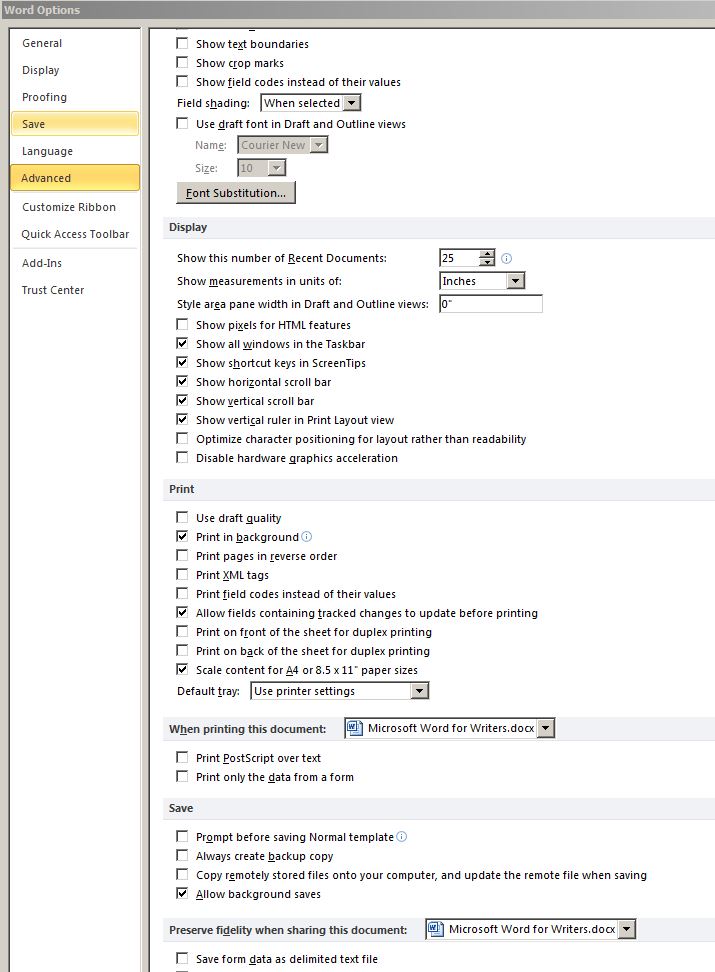 Figure 16b
 Figure 16c
With the Advanced Options box, it’s best that you just get your beverage of choice, sit in a comfortable chair, relax, and go over the possible settings one at a time.
That’s it for this time! Next up, Find & Replace. For my money, it’s the most valuable tool in Word. Until then, happy writing!
Harvey
Note: If you find something of value in these posts or on this website, consider dropping a tip into Harvey’s Tip Jar on your way out. If you’ve already contributed, Thanks!